Table of Contents
[vc_row 0=””][vc_column][vc_column_text 0=””]
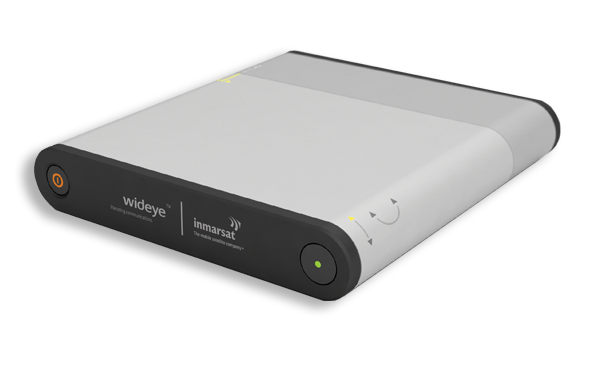
Wideye iSavi IsatHub
Wideye iSavi IsatHub
Firmware Upgrade #
Wideye iSavi @ Apollo Satellite Communications
Download iSavi Micro-USB Driver Here
Steps for upgrading the firmware in the iSavi #
You must first enter Safe Mode to upgrade your firmware
Method One for entering Safe Mode: Via Web Console #
- With the terminal on, connect your smart devices or personal computer to the Wi-Fi of your iSavi
- Login to Web Console by typing https://iSavi or https://192.168.1.35 into the address bar of any web browser
- Navigate to Settings > Terminal Settings > Firmware Upgrade to perform firmware upgrade. Your iSavi will reboot in safe mode once you click the Firmware Upgrade button
- If Safe Mode is enabled successfully, all of the four Antenna Pointing LEDs are amber in color
- Connect the computer to the Wi-Fi of your iSavi
- Login to the Web Console in safe mode by typing https://iSavi or https://192.168.1.35 into the address bar of any web browser
Method Two for entering Safe Mode: Via Physical Buttons #
- With the terminal off, press and hold the “Exit Pointing Mode” button
- Press the “Power” button for 5 seconds
- Release both “Exit Pointing Mode” button and “Power” button
- If Safe Mode is enabled successfully, all the four Antenna Pointing LEDs will turn to Amber color
- Connect the computer to the Wi-Fi of your iSavi
- Log in to the Web Console by typing https://iSavi or https://192.168.1.35 into the address bar of any web browser
The Home Page of Safe Mode is for the firmware upgrade #
- Download the firmware: Download Firmware Here
- Navigate to the Home Page in order to perform firmware upgrade. Before starting the firmware upgrading, plug in the power adapter to your iSavi
- Save firmware download to your Desktop
- Browse to the file location of the new firmware on your Desktop, select, and click Upload
- The firmware upgrade will take less than 10 minutes to complete you will be prompted with the Result: Firmware Upgrade Completed message


