Iridium GO Wall Mounting
Instruction Guide #
Iridium GO Wall Mount @ Apollo Satellite Communications
The Iridium GO can be installed indoors using the Wall Mounting Kit and an external antenna accessory, providing flexibility in use.
The Wall Mounting Kit consists of two separate parts which allow you to use your Iridium GO! in a fixed indoor location or to easily remove it for portable use outdoors.
To configure your Iridium GO! for wall mounting, follow these instructions to attach the Mounting Plate and install the Wall Bracket with the correct hardware.
To Install the Wall Mounting
Kit You Will Need: #
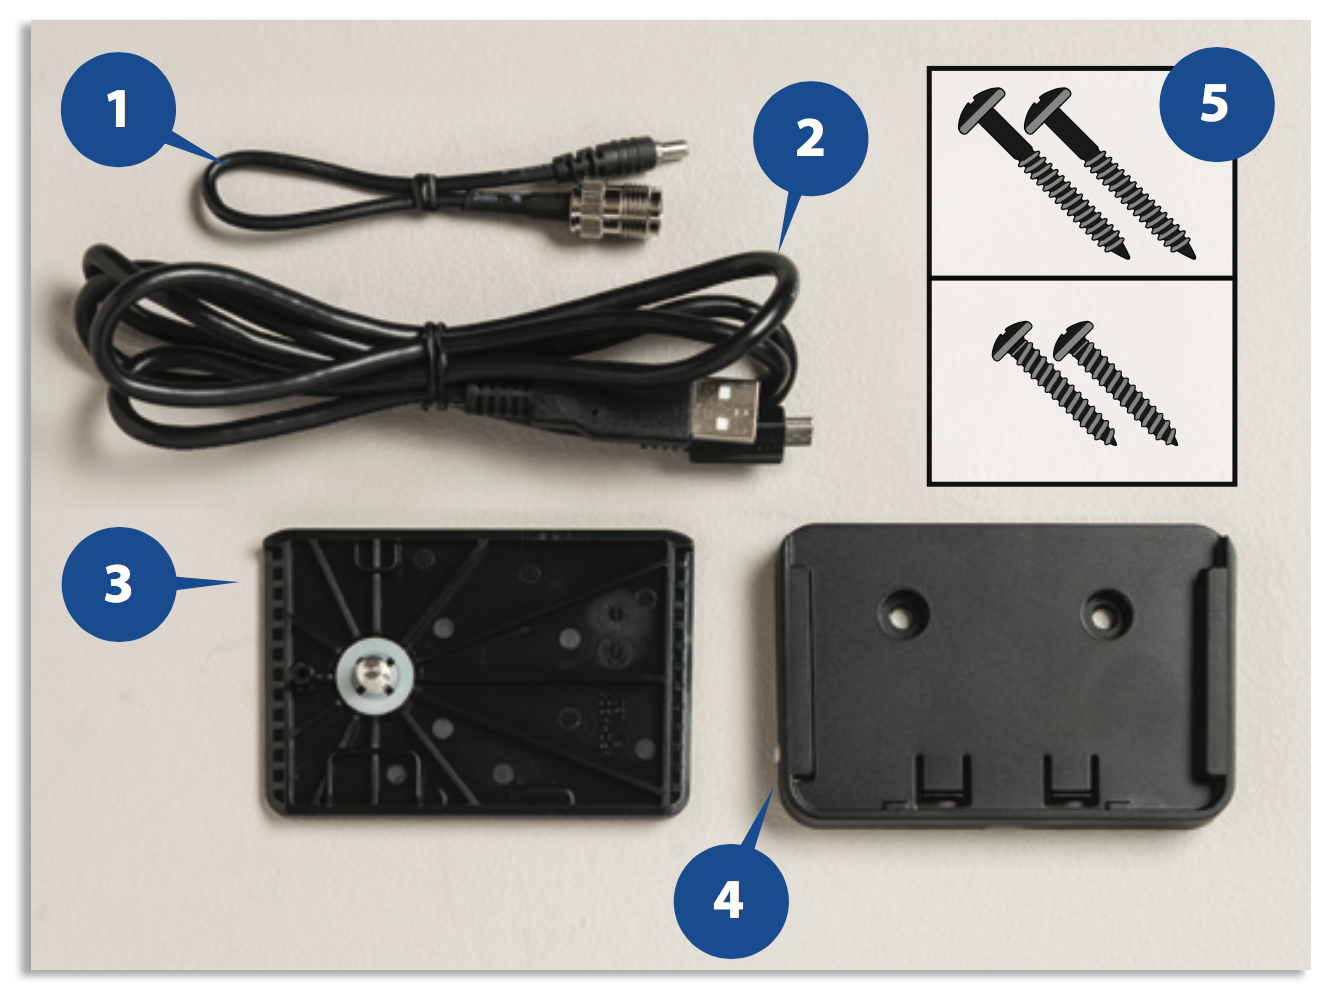
1. Antenna Adapter Cable (sold separately)
2. USB 2.0 cable with micro & standard USB connectors
3. Mounting Plate
4. Wall Bracket
5. Screws (2 wood or 2 metal)
Step One: The Mounting Plate #
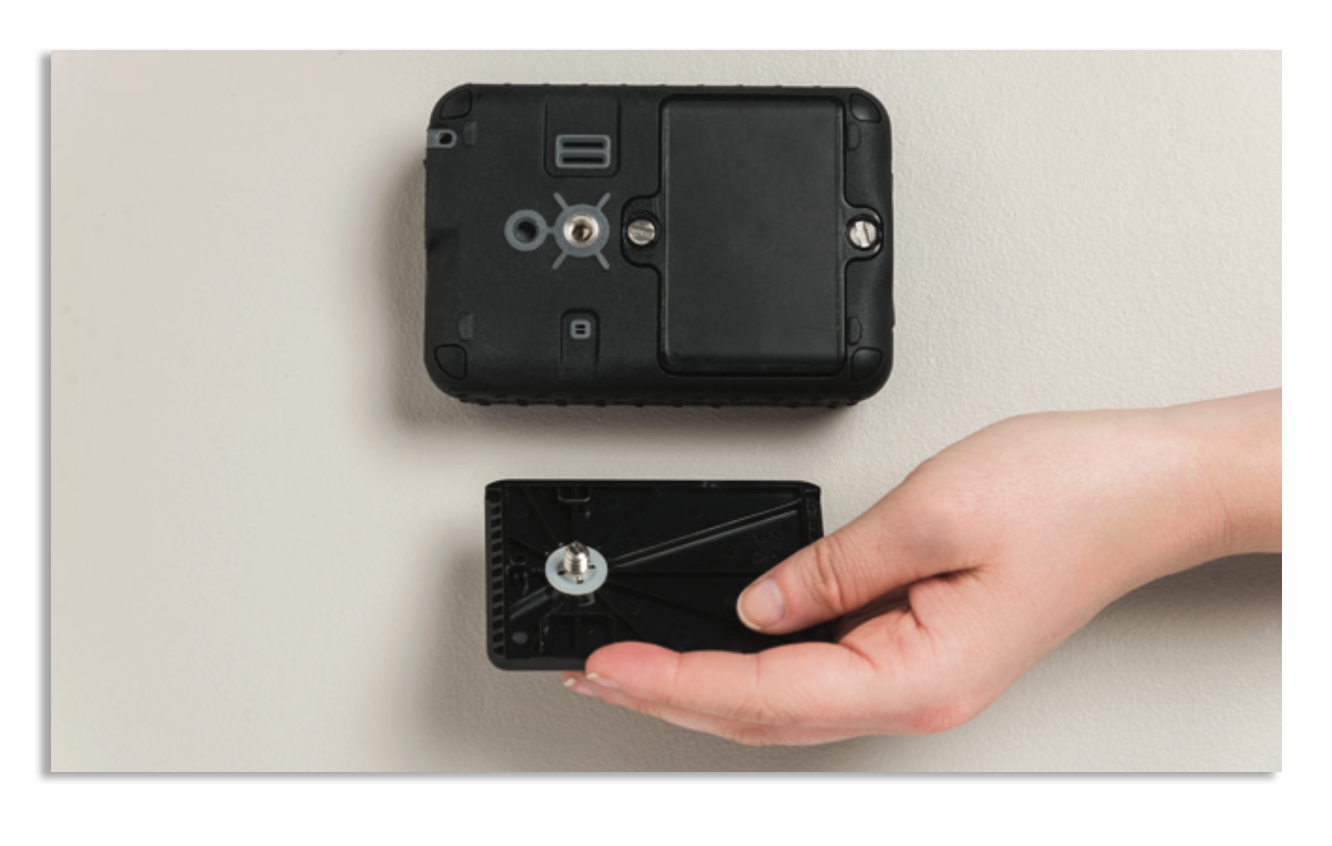
Attach the Mounting Plate by aligning the screw and locating pin to the back of the Iridium GO! device
Once aligned, tighten the mounting screw to ensure a secure fit
Step Two: Wall Bracket Placement #
The Wall Bracket should be located in close proximity to the cable for your exterior antenna and to a power source to charge the device – additionally, it is recommended that the bracket is located in places that allow minimal obstruction for the Iridium GO! application users, keeping in mind that walls, doors, and other structures may negatively impact the Wi-Fi range of the device
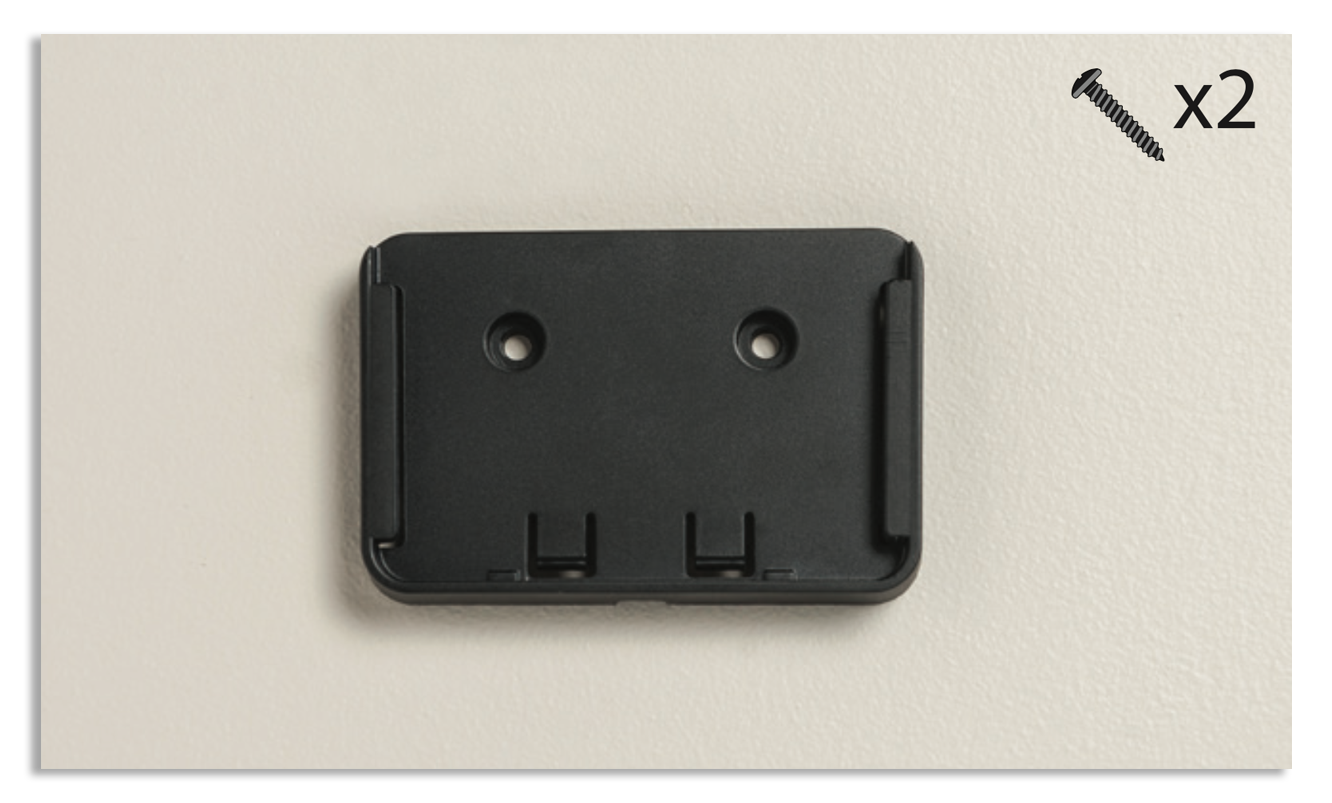
Select the appropriate screws (wood or metal) for the material of the wall
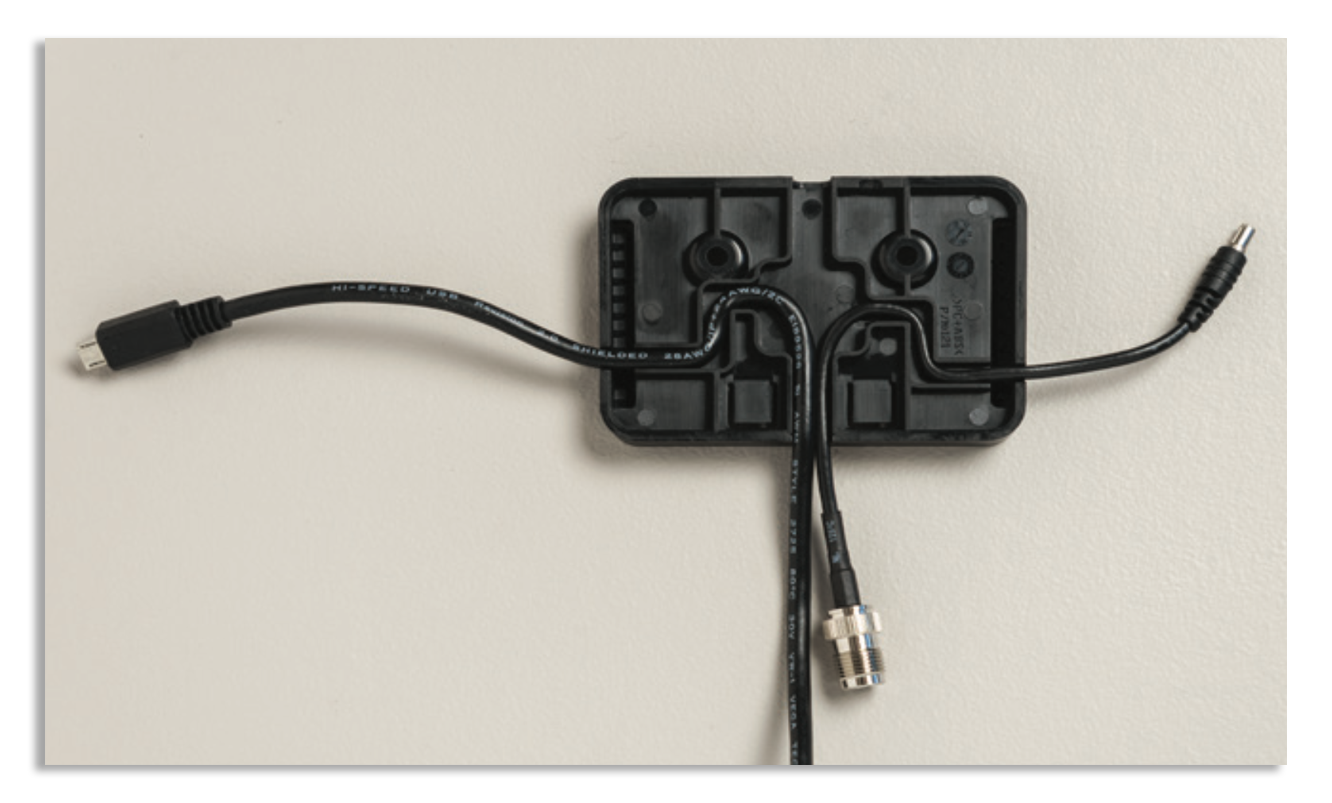
Route the USB cable and Antenna Adapter Cable through the guides in the rear of the Wall Bracket as shown above – extend approximately 10cm (4 inches) of each cable on both sides of the bracket to allow connection to the Iridium GO! device
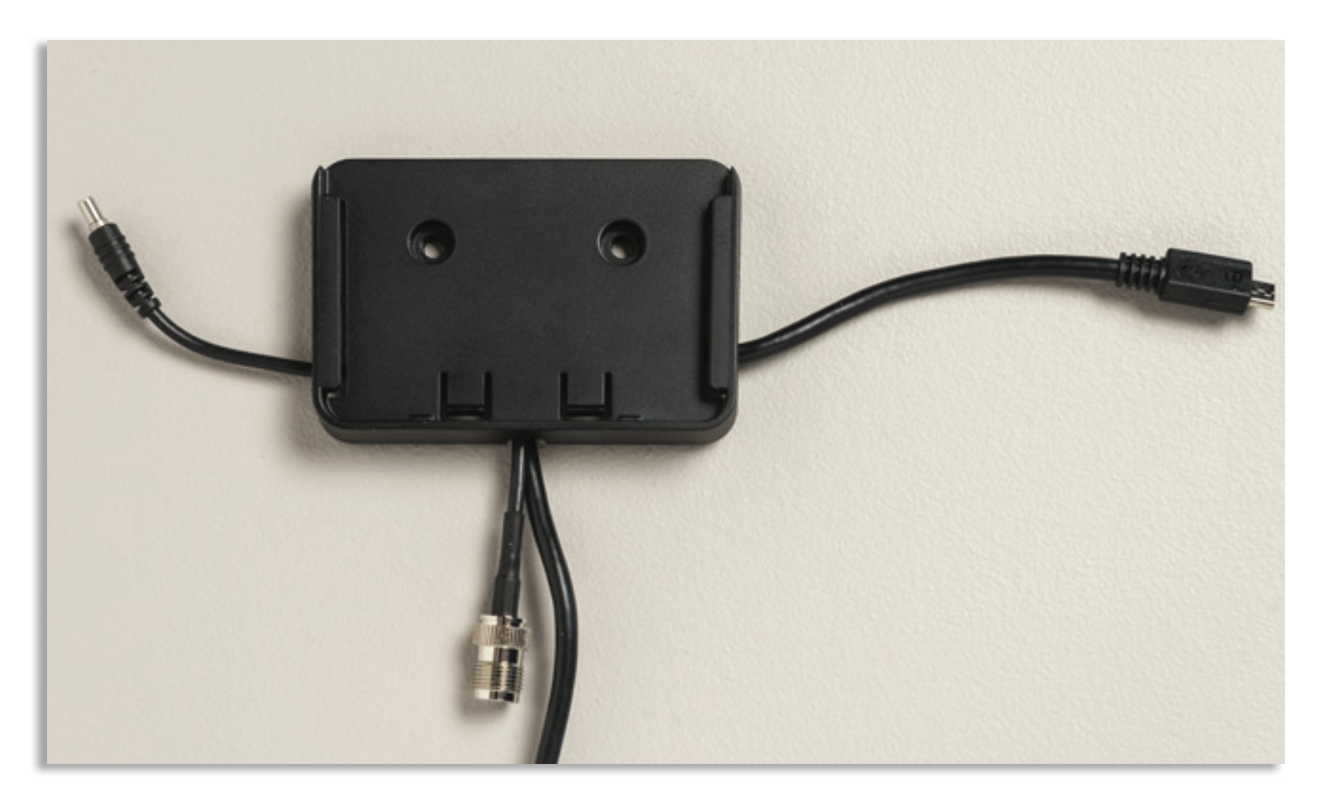
Attach the bracket to the wall
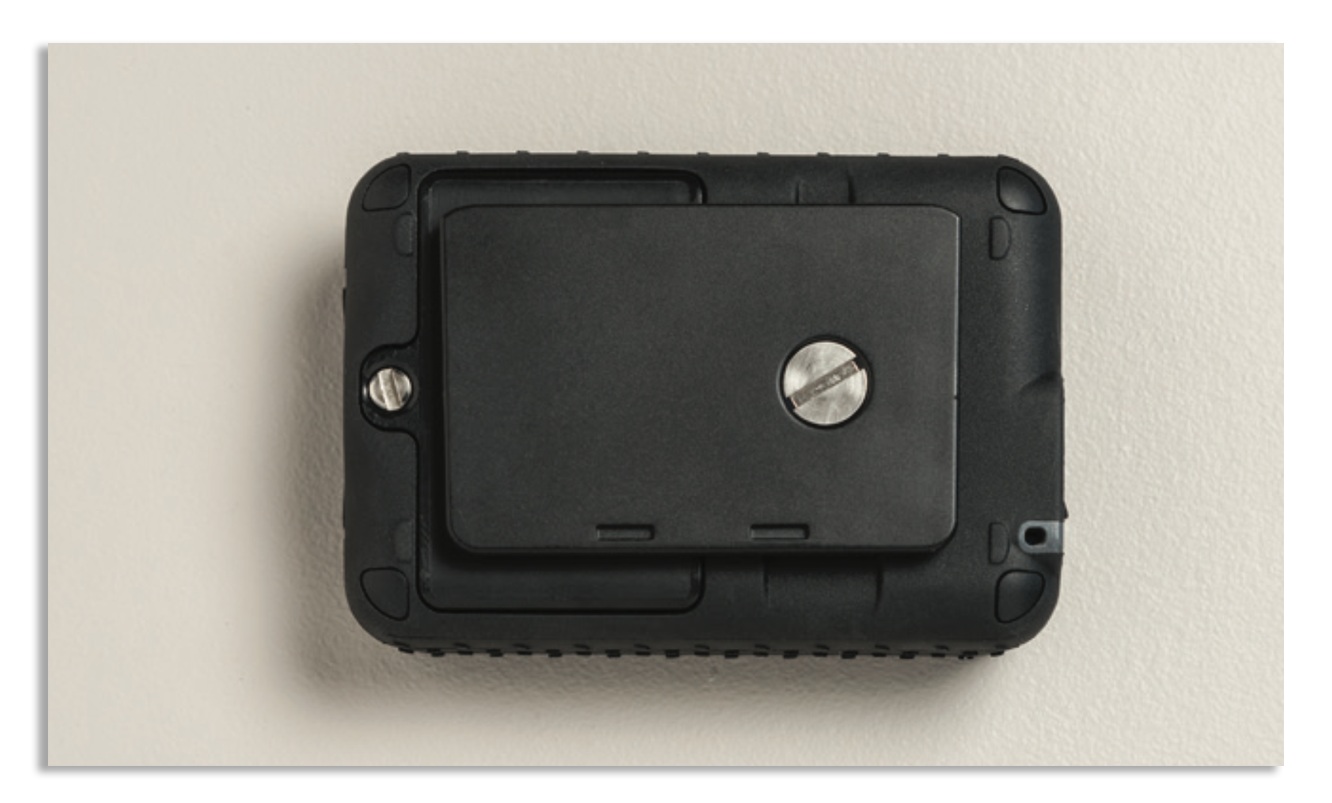
Step Three: Mount the Iridium GO! #
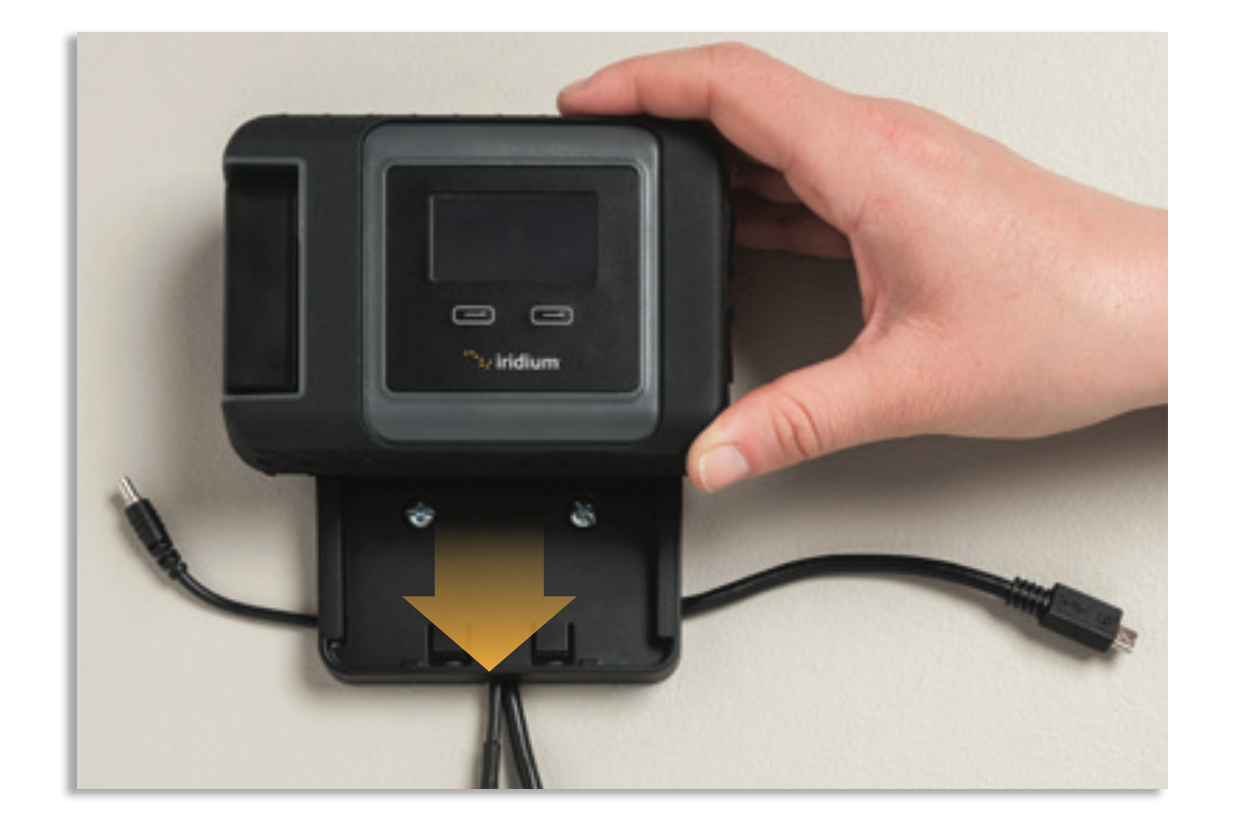
Slide the Iridium GO! onto the Wall Bracket

Open the access doors and connect the USB and antenna cables
NOTE: The Wall Bracket is also compatible with RAM Mounts for placement on windows and in other locations
[/vc_column_text][/vc_column][/vc_row]


