Iridium GO! Quick Start Guide – Connecting You Fast
The Iridium GO! Quick Start Guide is made for use with the Iridium GO! and will help you get connected in a fast and easy fashion.

Iridium GO! Quick Start Guide
Device Overview
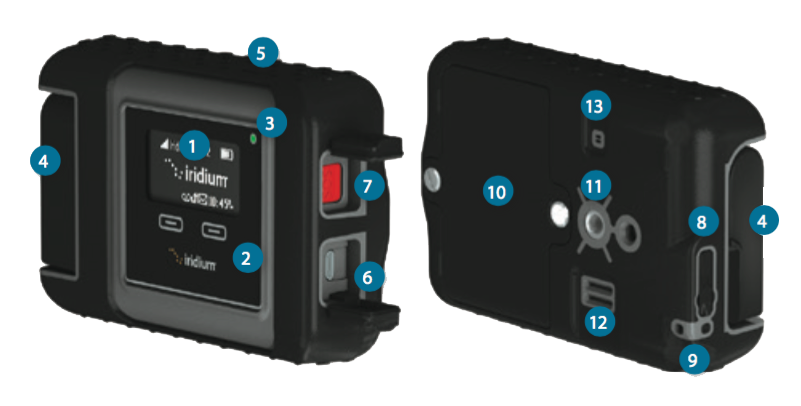
Description
-
1: Device Screen
-
2: Navigation Buttons
-
3: Status LED
-
4: Swivel Antenna
-
5: Power Button
-
6: USB Power/Data Connection
-
7: SOS Button
-
8: External Antenna Connector
and Reset Button -
9: Lanyard Connector
-
10: Battery Cover
-
11: Accessory Connector (1/4″ Screw Mount)
-
12: Loudspeaker
-
13: Pressure Vent
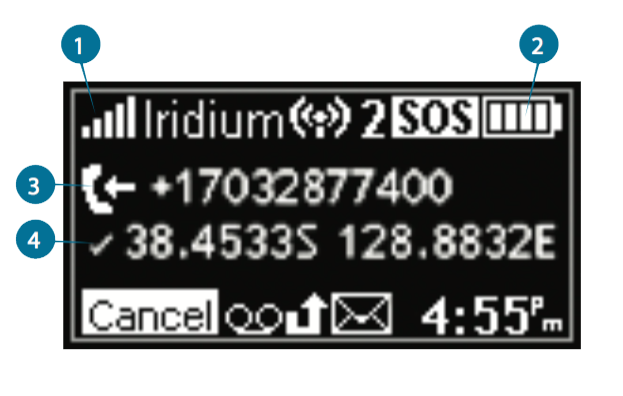
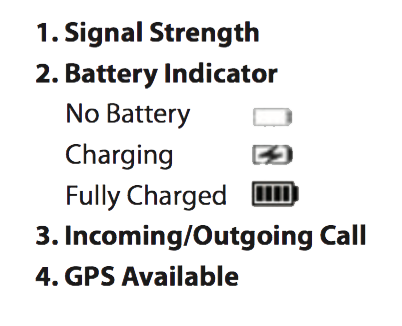
Device Screen Overview
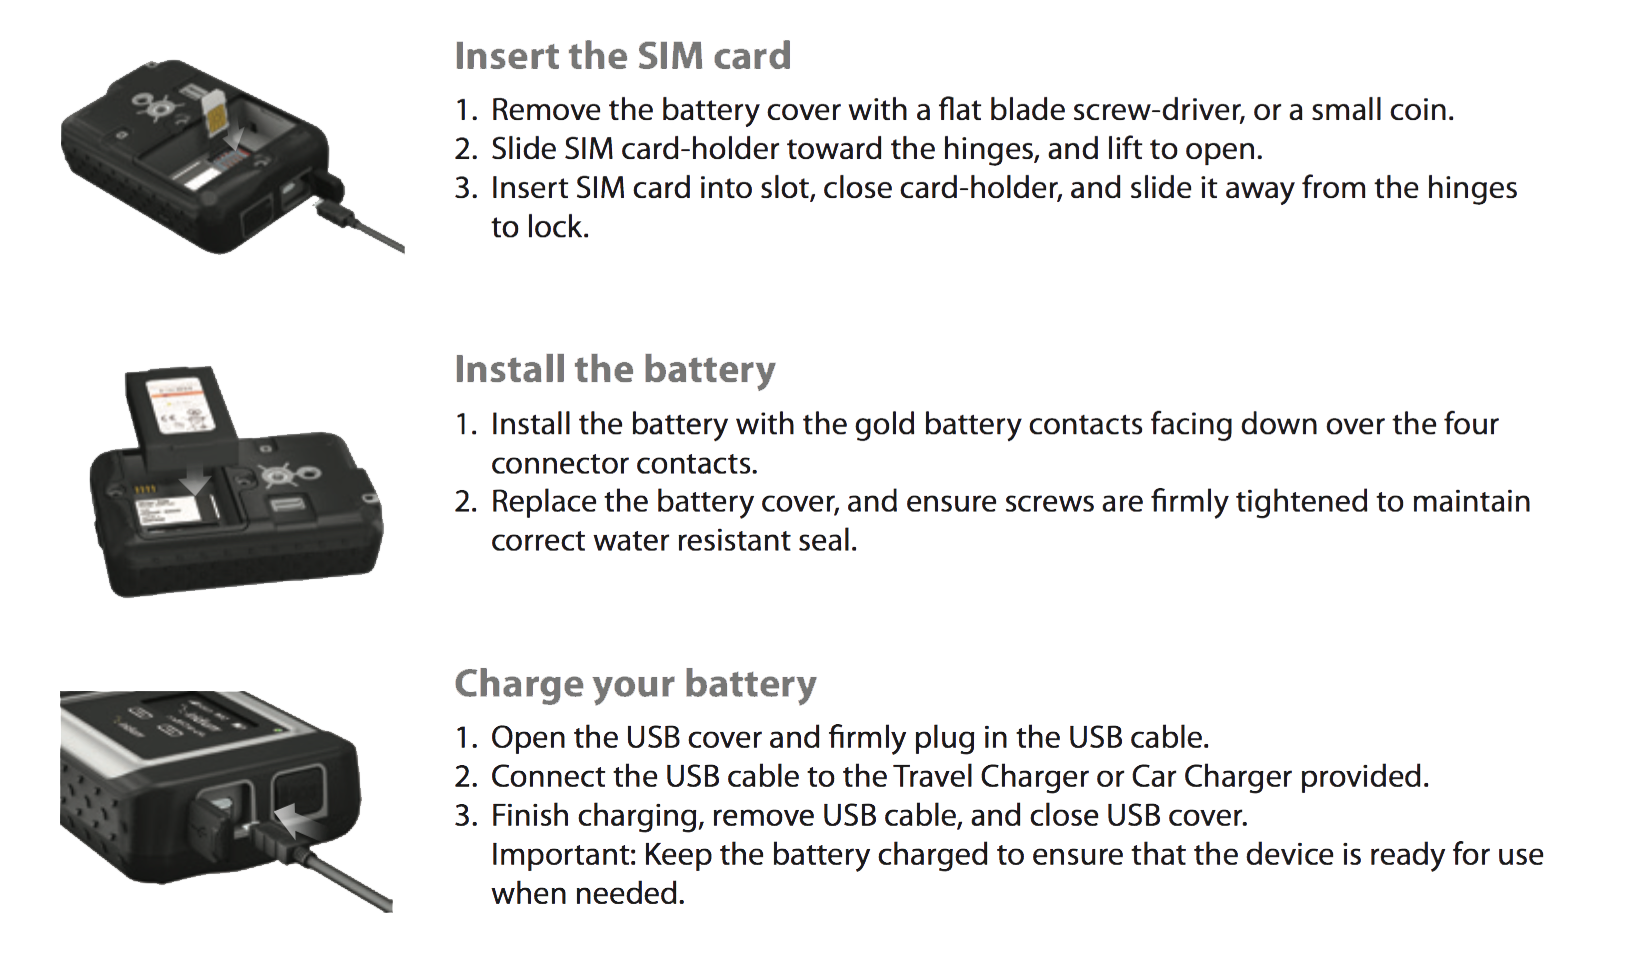
Step One: Setup Your Iridium GO! Device
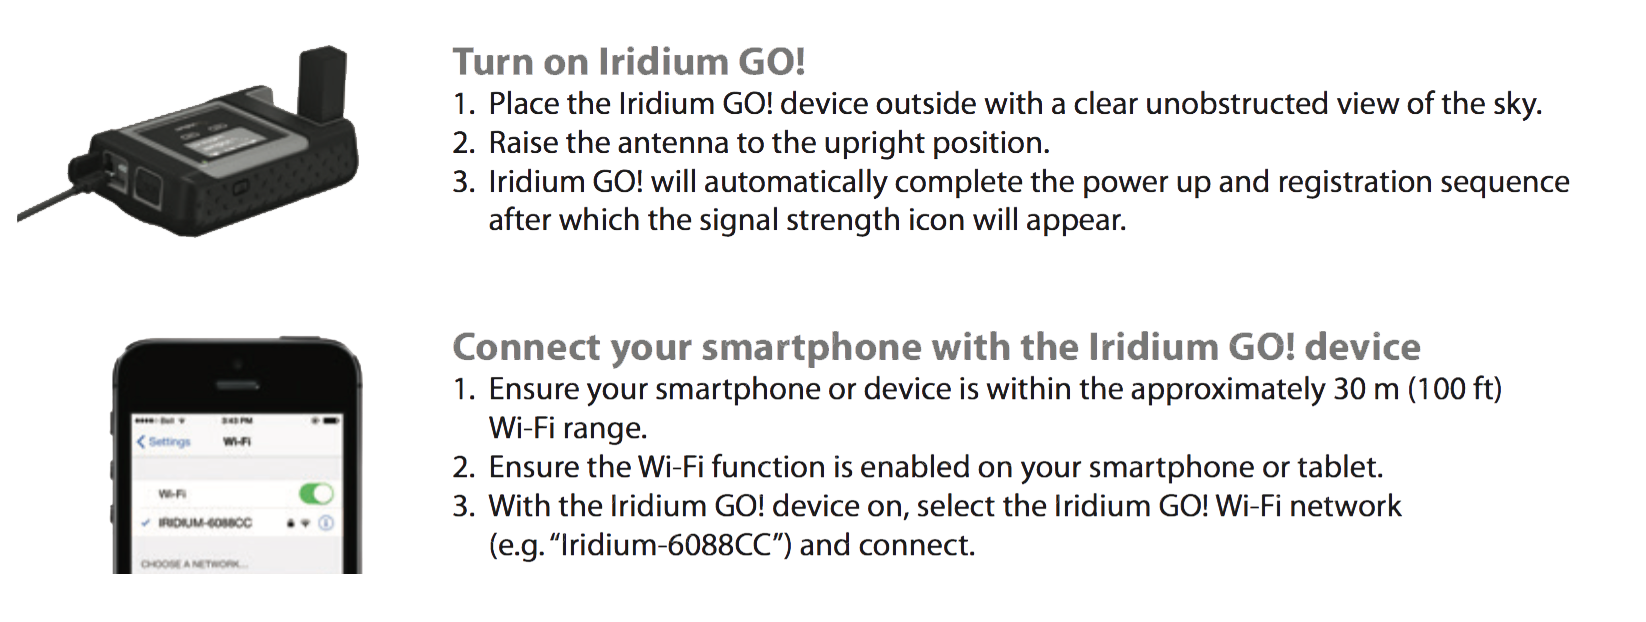
Step Two: Set Up Your Smartphone
Before using your Iridium GO! on the Iridium network, the Iridium GO! Quick Start Guide recommends first downloading and installing the required applications using your standard wireless network.
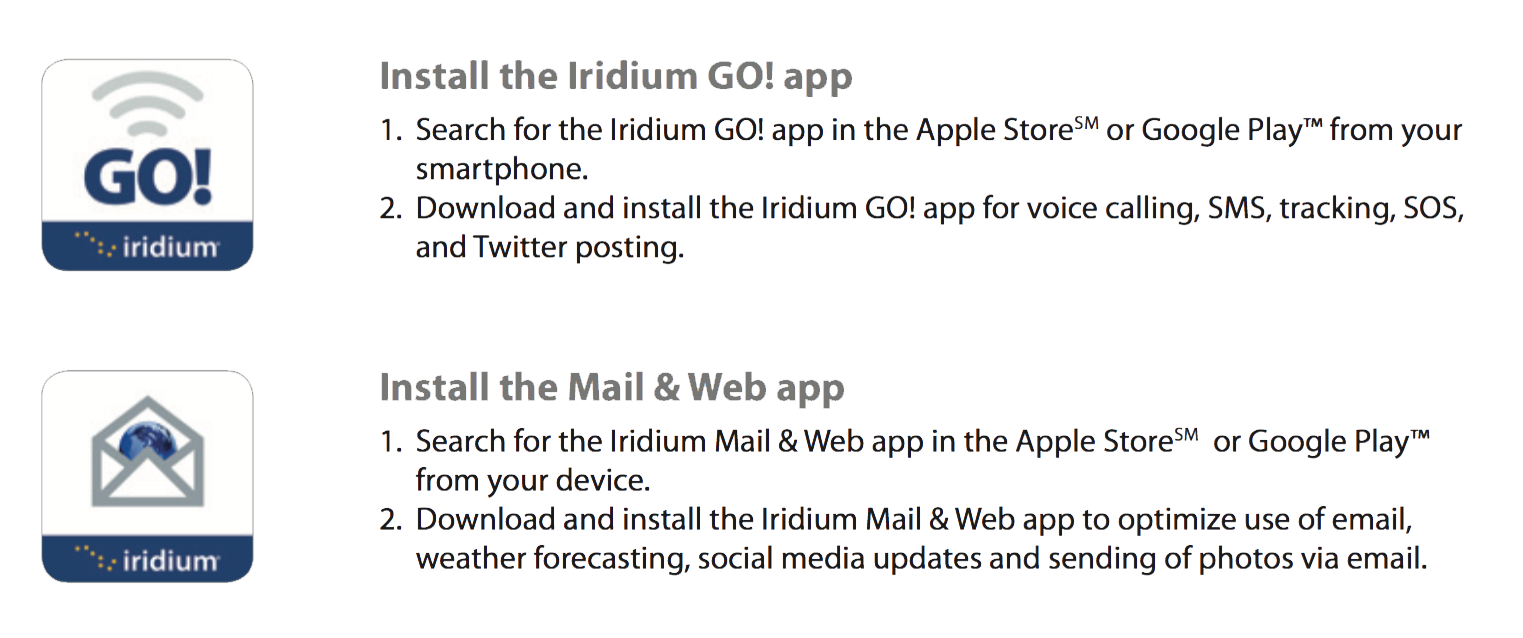
Step Three: Set Up the Iridium GO! App
Iridium GO! App Overview


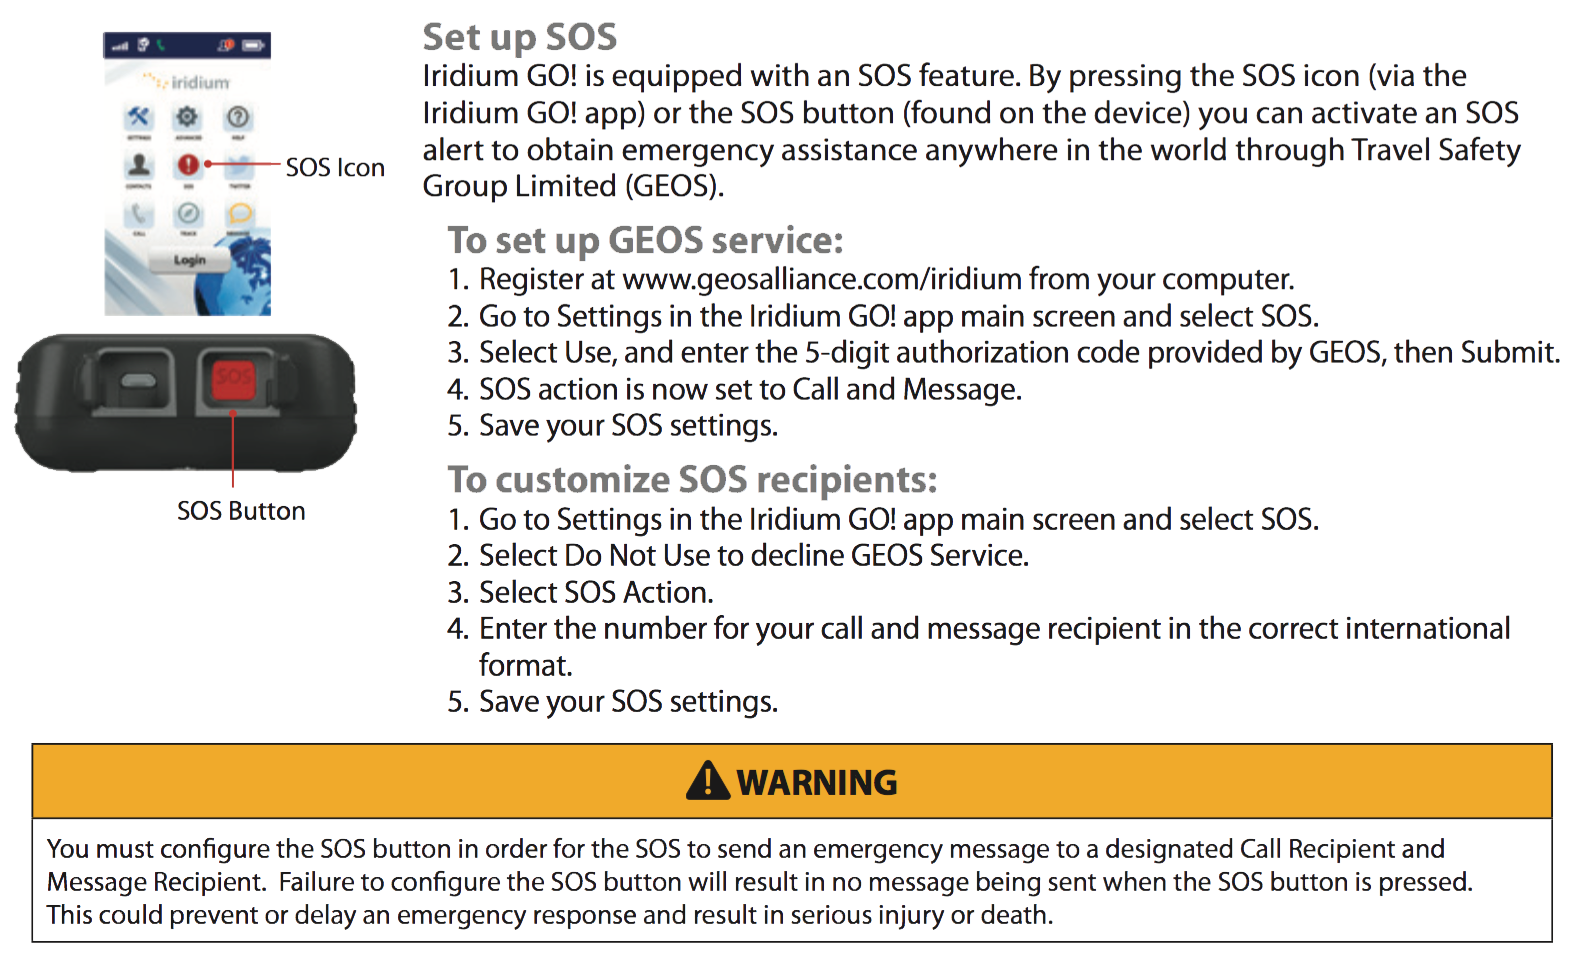
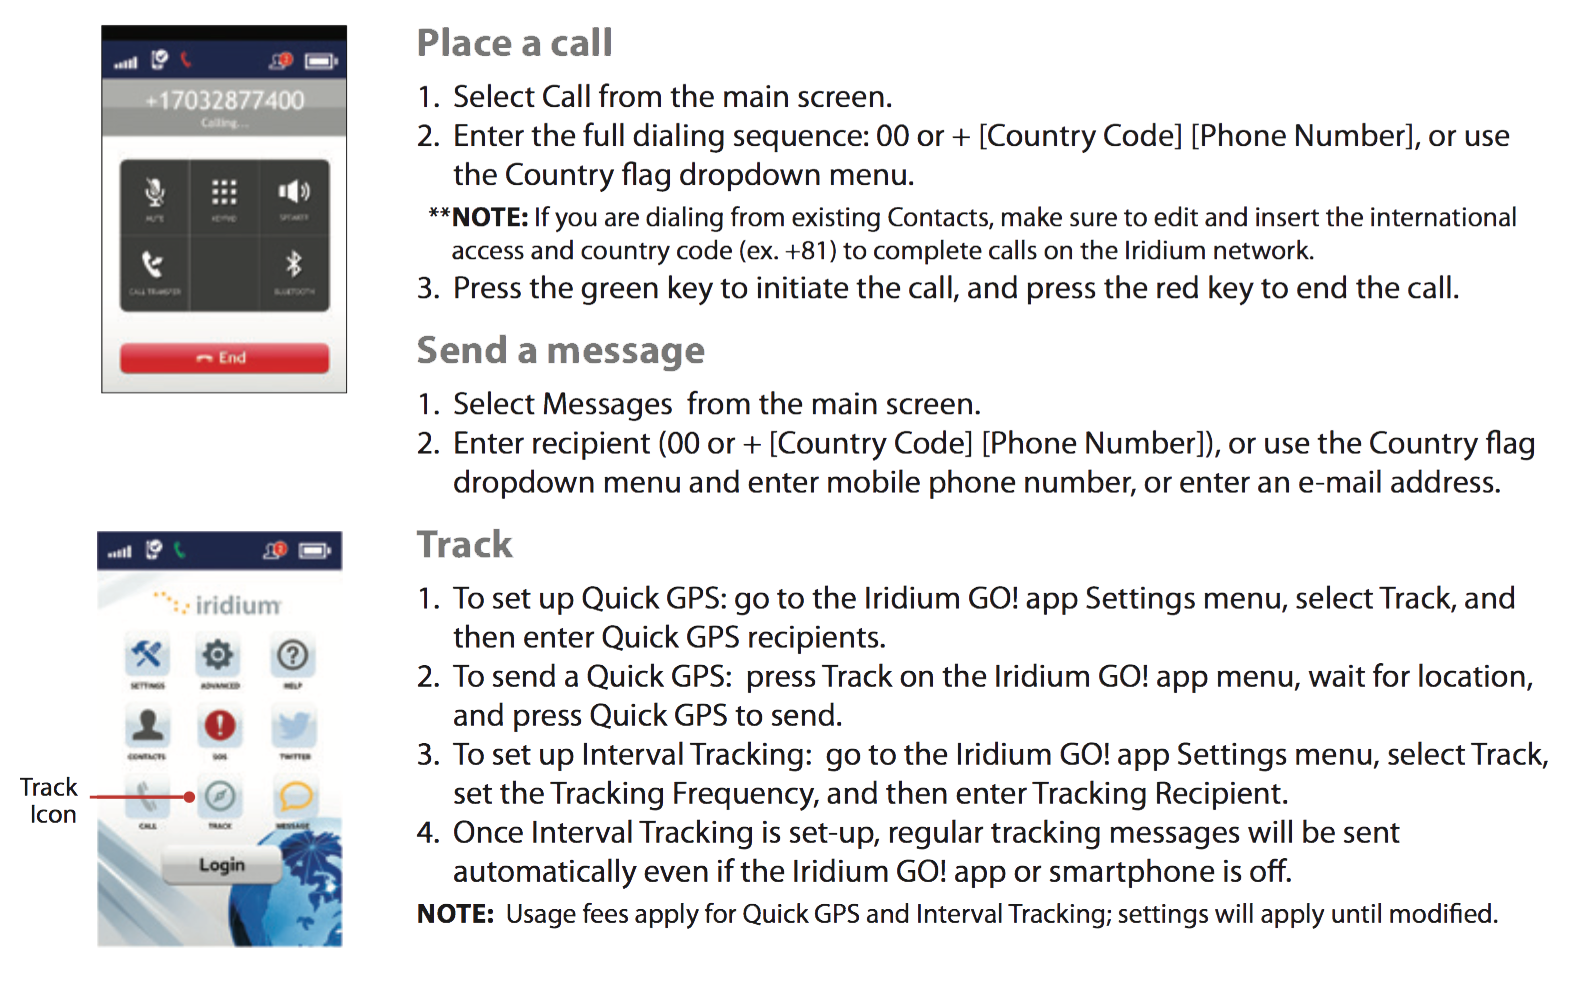
Step Four: Use Your Iridium GO! App
Iridium GO! Quick Start Guide
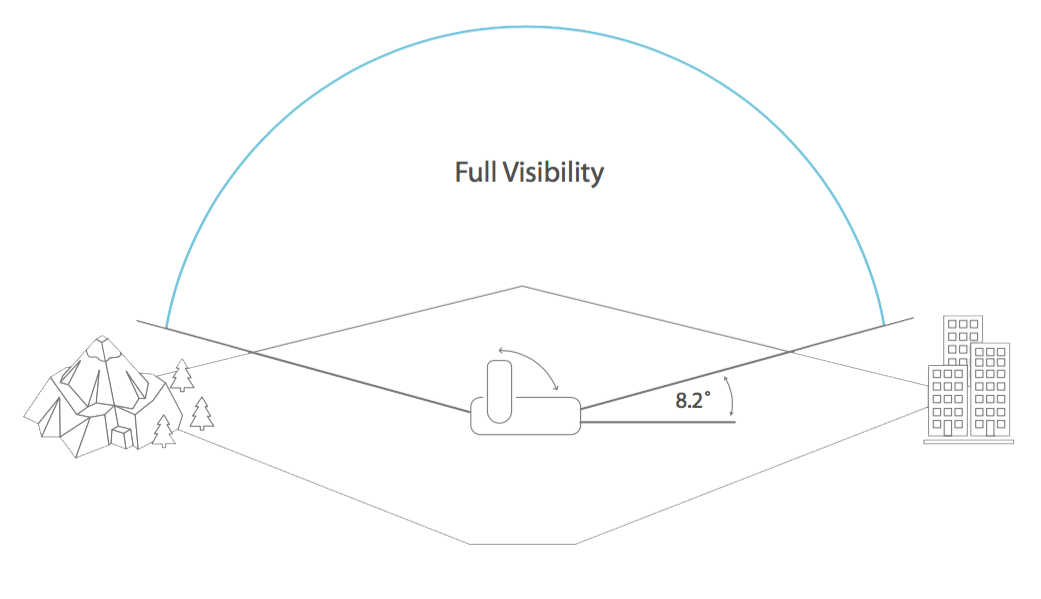
Efficient Operation
For the Iridium GO! to operate most efficiently:
-
1: Keep the battery charged to ensure that the device is ready for use when needed.
-
2: Ensure antenna is pointed directly up with a clear unobstructed view of the sky.
-
3: Ensure your smartphone or device is within the approximately 30 m (100 ft) Wi-Fi range.
-
4: Do not touch the antenna unnecessarily when the Iridium GO! device is in use.